How To Hang Projector Screen From Ceiling
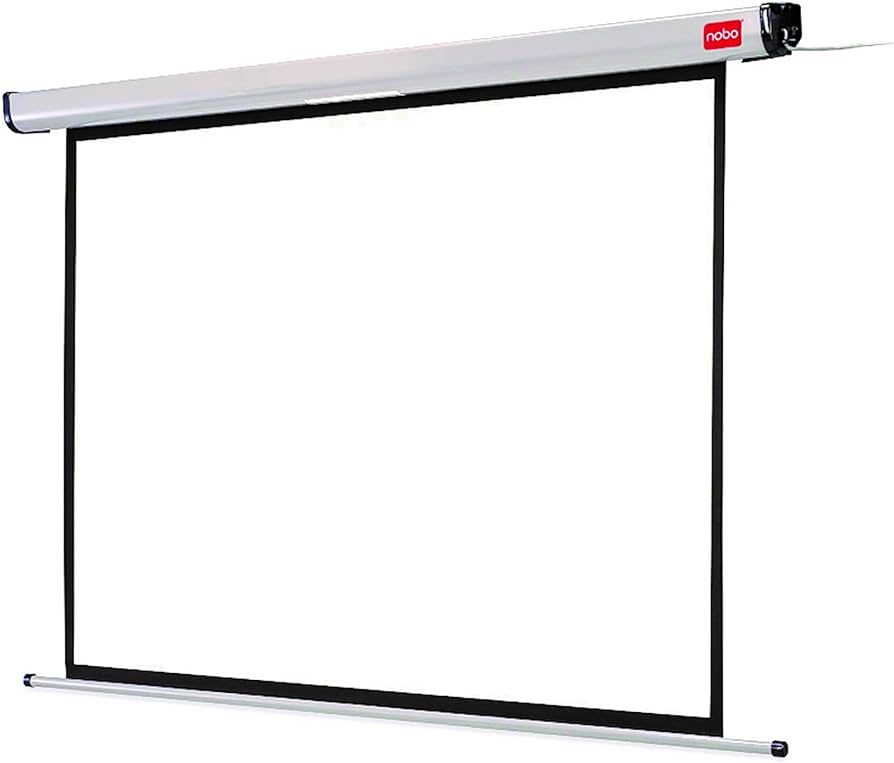
In-ceiling projector screens are a cool way to have a screen that rolls down from your ceiling when you want to watch something and then disappears when you’re done. Usually, professionals install these because it’s a job for experts. However, if you’re curious about how it’s done or you enjoy doing DIY projects, here are the basic steps to install your own in-ceiling projector screen. In this example, we’ll talk about setting up of in-ceiling projector screen.
How To Hang Projector Screen From Ceiling
Before you mount your projector screen, you need to prepare the ceiling. Check how many connectors your mounting kit for the projector screen includes and whether you might need additional ones.
Mounting systems can either hang from two eyebolt screws or have three to four extensions connecting to the ceiling. The choice depends on the screen’s weight and size. Let’s go through the process step by step.
Step 1: Locate The Studs
The very first step is to find the strong parts in your ceiling called “studs.” You need these studs to hang your projector screen securely from the top.
To discover the studs, get a tool called a stud finder and press it against various parts of your ceiling until it makes a “beep” sound.
Once you hear the “beep,” mark those spots with a pencil or marker. This makes it simple to find them when you’re ready to put up your screen.
Keep doing this until you’ve found all the studs in your ceiling.
Step 2: Drill The Holes
We need to make holes in the ceiling to hold the cable and anchors, making it simpler for the wire to go through.
To do this, connect one part of your screen’s mounting bracket to one end of the cable that’s attached to your anchor plate.
Once more, use the stud finder to find a nearby stud and mark the spot on the ceiling where you have to drill another hole for the cable to pass through.
Make sure that this other end of the cable goes through the stud with an anchor bolt. After drilling these holes, run both ends of your support cable through them.
Step 3: Mount The Anchor Plates To The Ceiling
The anchor plates act like holders for screws or bolts that go on both ends of our support cables. These cables are what we use to hang the projector screen from the ceiling.
These anchor plates usually come as a full set, with the screws you need.
Now, you can either screw the bolts directly into the wall near the place where you found the sturdy part (if there are holes already).
Or, you can use a drill to make a small hole in the wall and then screw the bolts into that. The anchor plates are usually about 2 to 3 inches in size.
Once the anchor plate is in place, it’s time to connect the support cables to the screws. Now, both ends of the cables should be attached to the anchor plates.
Make sure to attach the cables securely and use a screwdriver to tighten them well.
Step 4: Mount Projector Screen From The Ceiling
Now, let’s get the projector screen up on the ceiling.
- Start by placing a step ladder against the wall or under the area where you want to hang your screen. Make sure the ladder is steady and won’t move while you’re putting up the projector screen.
- Find the center of your projector screen by measuring its width and then dividing that number by two.
- Once you’ve found the center, take one end of the support cable and tie a knot as close to the end as possible.
- Now, run this end through the wall mounting bracket of your projector screen and thread it through the support cable until it reaches the other side of the anchor plate.
- When both ends of the support cables have reached their matching anchors, make sure to tighten them so they stay in place.
- After this, use a 3M strip to attach one of the brackets on either side of your projector screen’s wall mounting bracket, where your extension cord is plugged in.
- Keep in mind that there are many different hanging brackets and mounts available in local or online stores, and they come in various prices and qualities.
- Projector screens also come in different weights, heights, and lengths, so choose the bracket or mount that fits the available space and screen size before making your final purchase.
Step 5: Clean Up the Area and Perform Final Inspection.
The very last thing to do is make it look nice. Use a soft cloth and a mild cleaning solution to wipe off any dust or fingerprints from the setup. Now, just sit back, look at what you’ve done, and enjoy the show.
How to Decide the Screen Placement
You need to pick where to put the projector screen depending on the space you have in the area you’ve planned for it.
Also, think about the lighting in that space. It’s better if it’s a bit darker or if you can control the lighting.
Placing the screen in a really bright area where you can’t manage the lights might make the projection look bad, or you might need a projector with more brightness.
Tools for Mounting
After you’ve decided on the placement, the next step is to gather the nuts and bolts for mounting the screen.
In stores, you’ll come across various mounting options, so choose the one that fits the space where you want to hang the screen.
Projector screens come in different types based on their size, cost, and the material they’re made of.
You can hang the screen with nails, or if it’s a roll-back type, it may need to be mounted on the ceiling. If budget isn’t an issue, you can opt for motorized screens.
Most mounting kits will come in several parts, and the assembly instructions should be in the user’s manual.
Each mount has its own specific way of being put together, and it varies based on the brand and model. So, explaining the procedure here wouldn’t make sense.
Just follow the user’s manual, and you’ll be all set.
Conclusion
If your budget allows, you can even opt for motorized projector screens that can be conveniently controlled using a remote, making the opening and rolling process hassle-free.
Having covered all the essential steps for hanging a projector screen from the ceiling, you should now have the knowledge and confidence to do it yourself with ease.
Simply follow the instructions closely and ensure you have all the required tools and equipment for a successful installation.
Related Posts:
How to clean a projector inside lens?
Are Projectors Better For Your Eyes Than a Screen

Does a Projector use A Lot Of Electricity?